Spring is right around the corner, and with it come all the beautiful blooms that awaken after the cold weather. In fact, spring is the perfect time to practice your flower and nature photography.
If you think all that’s involved with shooting flowers is pointing the camera and snapping a pic, then you’re on the right track. However, if you really want to capture the delicate buds as they start unfurling, or the flowers once they’ve bloomed, read on for some great tips and tricks:
Recommended Equipment:
- A tripod – this is a must if you want a steady shot.
- Several lenses – this way you can play around to see which lens works best. A macro filter lens should be on your list. If your current camera doesn’t support this, then work towards becoming very, very good at zooming.
- A piece of cardboard, cloth, or a poster – these have numerous uses.
Conditions:
A wind-free, sunny day is the best time to attempt this – usually around mid-morning due to the light. Overcast days are also highly recommended because they soften the light and reduce harsh shadows. If you want to be creative, then try and shoot your flowers at dusk or dawn to bring out different colours, or capture those dew drops. Both the background and dew drops can be artificially added in photo programmes later. I do find that it is far more rewarding to use examples found in nature, as they’re slightly less time consuming than working on photo editing programmes.
Background
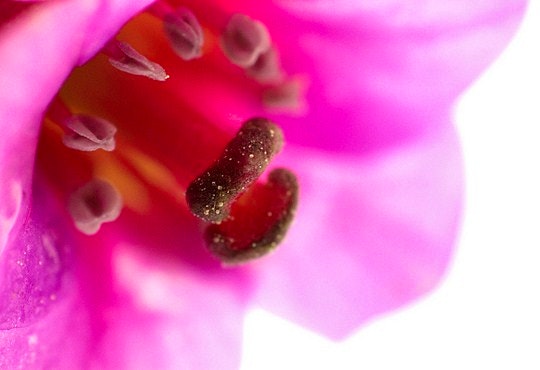
- Before you take your shot, think for a minute about the background that will appear in your picture. Is the garden shed, dog, or watering can in the way? If there is something there that can’t be moved, try using a different camera angle, or zoom in on the flower. Often when you take close-up pictures of plants, the background blurs away into an artful oblivion.
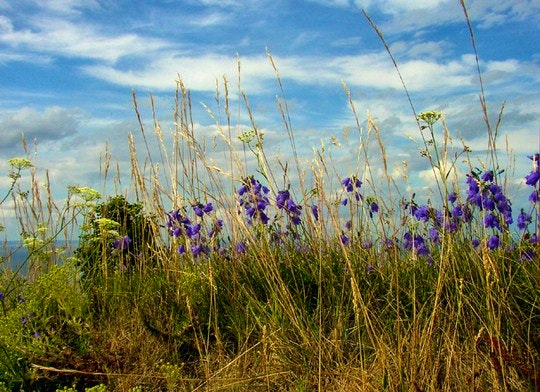
- If you want a very creative flower shot, consider positioning your camera as close to the ground as possible, with the lens pointed up. Voila! Your picture now has a stunning blue or cloudy-grey backdrop, courtesy of the sky.
- Bring along a poster or fairly thick cloth like velvet. You can then drape this behind the flower to hide anything unsightly. It also works as a windbreaker if the breeze picks up – bobbing flowers can look great in photos, but flowers that are still, are easier to capture.
Techniques
- Always keep your flower in focus, unless you’re zooming in on a pre-selected part, such as a petal, leaf, or bee.
- You should always try to find a focal point for your shot – the rule of thirds works well for this. In short, find the most interesting angle.
- If you’re at home consider picking a contrasting coloured flower and inserting it in the background, or next to your current subject. If you’re in a nature reserve, skip this step, or you’ll likely end up in trouble.
After effects
- Now that your pictures are saved onto your computer, you can play around a bit. If you find the flowers you shot had rich colours, but didn’t turn out that way in the photo, you may want to consider underexposing them. Not by a lot, but by a degree or two. This will make the colours vibrant again.
- If you find the picture you’ve taken is underexposed, then there’s some great advice on how to fix that in Adobe Photoshop.
Let us know your favourite way to photograph flowers, and keep these tips in mind when you head to Namaqualand to shoot some daisies … you can wait a while to rock them later in the year.
Image Credit for main image: Marc – who just moved (Flickr)


